Fixed Asset Inventory Checklist Before an Audit | DOIT
Fixed Asset Inventory Checklist: What Finance and Operations Must Verify Before an Audit
What Is a Fixed Asset Inventory Checklist?
A fixed asset inventory checklist is a structured control tool. It helps finance and operations teams verify each asset before an audit. The checklist connects physical evidence with the fixed asset register. It also highlights missing data, duplicate records, untagged items, and retired assets that remain on the books.
For that reason, a checklist should guide the entire verification process. It should not serve as a last-minute counting sheet. A reliable process covers scope, location, identity, condition, ownership, documentation, reconciliation, and approval.
DOIT Integrated Solutions helps organizations turn field findings into an accurate, auditable fixed asset register. The service combines physical inventory, photography, classification, tagging, reconciliation, and ERP-ready data.
The Short Answer: What Must You Verify Before an Audit?
Before an audit, verify the asset’s identity, location, condition, custodian, tag, financial record, and supporting evidence. Then, reconcile every finding with the approved fixed asset register. Finally, document exceptions and obtain management approval for corrections.
The following table provides a practical starting point.
| Verification area | Key question | Evidence to retain |
| Asset identity | Does the physical item match the register description? | Asset ID, serial number, model, and photograph |
| Location | Is the asset in the recorded room, department, or site? | Location code and verified site record |
| Condition | Is the item active, damaged, idle, under repair, or retired? | Condition status and inspection note |
| Custodian | Which department or responsible person controls the asset? | Department and custodian record |
| Tagging | Does the asset carry a readable Barcode, QR, or RFID tag? | Tag number and tag photograph |
| Financial data | Does the record include cost, date, useful life, and depreciation details? | Register extract and finance approval |
| Exceptions | Does the finding require correction, transfer, disposal, or investigation? | Exception log and decision record |
Step One: Define the Inventory Scope
First, define exactly what the project covers. Include the legal entity, site, building, department, asset classes, and audit period. Moreover, agree on the treatment of leased assets, low-value items, assets under construction, and fully depreciated equipment.
A clear scope prevents two common failures. The first failure is incomplete coverage. The second failure is duplicated work across teams. Therefore, the scope document should name the responsible project owners and the approved completion date.
For multi-site organizations, add a site hierarchy. A useful structure can include country, city, property, building, floor, room, and department. This structure later supports reporting and ERP reconciliation.
Step Two: Confirm Asset Identity and Location
Next, locate each asset and compare it with the register. Record the asset description, manufacturer, model, serial number, and unique asset ID. Also, capture the exact location and responsible department.
Photography strengthens this step. A clear image links the physical item to its digital record. In addition, a readable tag supports future checks and reduces repeated investigation.
If a team cannot locate an item, do not mark it as missing immediately. Instead, check transfers, repair areas, storage rooms, and approved movement records. Then, classify the result as located, temporarily moved, under repair, missing, or requiring investigation.
Step Three: Check Tags, Condition, and Operational Status
A tag should remain readable, durable, and correctly attached. Consequently, inspect every Barcode, QR, or RFID label during the inventory. Replace damaged tags only after recording the original identifier and approving the change.
Condition data adds operational value. For example, an item may be active, idle, damaged, under repair, obsolete, or ready for disposal. These statuses help management prioritize maintenance, replacement, redeployment, and capital planning.
However, condition assessment should follow an agreed policy. Otherwise, different teams may apply different judgments to similar assets. DOIT can help define the data fields and classification rules before fieldwork begins.
Step Four: Reconcile Field Data with the Fixed Asset Register
Physical verification becomes useful when the results reach finance and operations. Compare field data with the approved register. Then, identify mismatches and assign an action to each exception.
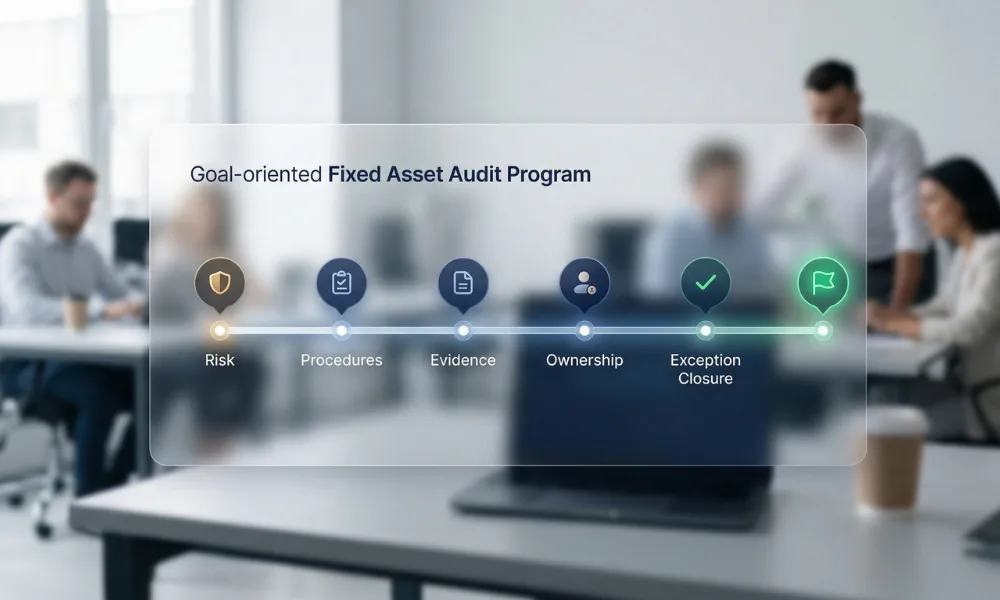
Typical exceptions include assets found but not recorded, assets recorded but not found, duplicate asset IDs, incorrect locations, missing serial numbers, and retired items still appearing in the register. Each exception needs an owner, a decision, and a documented closure.
DOIT structures field data for reconciliation and ERP use. Our platform feeds verified findings into the client’s existing systems. It does not replace the client’s ERP. Instead, it improves the quality of the data that the ERP receives.
Step Five: Prepare the Audit Evidence Pack
Finally, assemble a clear evidence pack. Include the approved scope, methodology, site coverage, asset register, photographs, tag records, exception log, reconciliation report, and management sign-off.
The pack should explain the process in plain language. It should also show how the team handled missing, transferred, damaged, and disposed assets. As a result, auditors can review the evidence faster and ask more focused questions.
Do not include unsupported claims or unverified success figures. Instead, present the actual project scope, deliverables, dates, and approved results. This approach strengthens transparency and protects organizational credibility.
How DOIT Turns a Checklist into an Audit-Ready Process
A checklist offers structure. However, successful inventory also requires field expertise, consistent data capture, durable tagging, and disciplined reconciliation. DOIT combines these capabilities in one workflow.
The process begins with scope assessment. Then, field teams verify assets, capture photographs, classify records, and apply approved tags. Afterward, data specialists review exceptions and prepare structured outputs for finance, operations, and ERP teams.
“An audit-ready register begins with evidence from the field. Our role is to make that evidence accurate, organized, and ready for the client’s financial and operational systems”.
DOIT Integrated Solutions
Conclusion: Use the Checklist Before the Audit Uses You
A fixed asset inventory checklist helps teams replace assumptions with evidence. It clarifies what to verify, who owns each action, and how to close every exception. More importantly, it connects physical reality with financial control.
Use this checklist as a starting point. Then, adapt it to your sector, site structure, asset classes, and ERP requirements. For complex projects, professional field verification can reduce risk and improve data quality.
Request a Scope Assessment from DOIT Integrated Solutions.
Our team can help you verify, tag, reconcile, and organize your fixed asset data before the next audit. You can also request a quotation or a technical consultation for your organization.
Category
Recent Posts

Hotel Pre-Opening Asset Inventory: Audit-Ready Register